Well, what a whirlwind I've had these past few months. One of my New Year's resolutions is to make sure I am up to date with my posts! Yikes!! I am on Christmas vacation right now, so I have had some time to finally dig into my craft pile.
A few months ago, I saw an idea to Mod Podge fabric onto a pair of flats. I have two pairs that are so comfy, but are looking pretty sad & weathered. This was my chance to revamp them and get a new pair of shoes for free!
I found a
tutorial and figured I'd give it a shot. A lazy, rainy day was the perfect time.
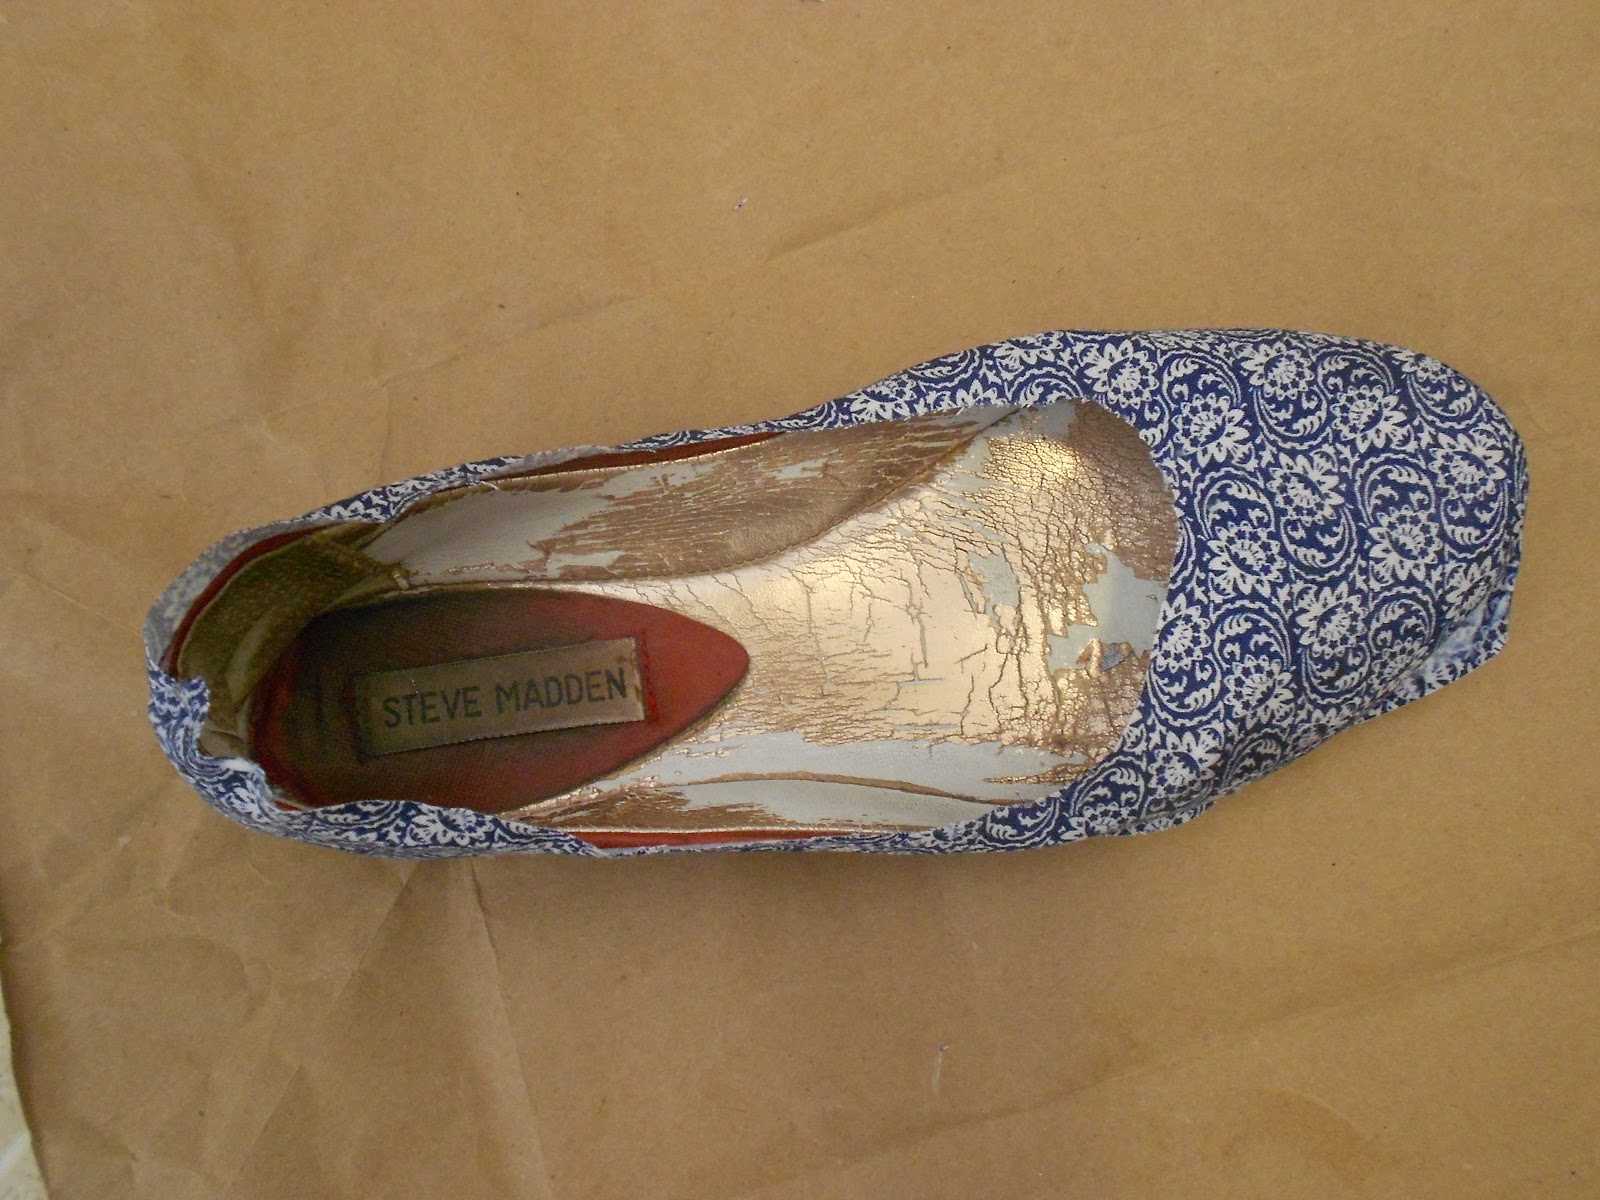
Step One: Find a pair of your favorite, but weathered flats and a fabric you love. (Any inexpensive pair of new flats will work too!)

Step Two: Cut out a piece of fabric
big enough to cover the shoe. You can be fairly imprecise here; just
lay the fabric over the shoe and cut out a general rectangle.
Step Three: Cut a slit in the fabric over the opening
of the shoe. You want to leave the fabric whole over the toe, but split
it in half to cover the sides. Start at the heel and cut right up the
middle until you are half an inch away from the beginning of the toe of
the shoe.
Step Four: Cover the toe of the shoe in a thick layer of Mod Podge.
Step Five: Cover the toe of the shoe with your fabric
and press it down firmly. You want the fabric to be stretched out and
laying flat everywhere so that it doesn’t bunch up and pucker near the
sole. Since I was using patterned fabric, I didn't have to worry about keeping lines straight.
Step Six: Cover the sides of the shoe with Mod Podge and press the fabric onto the shoe. Keep making sure the fabric lays flat
. Leave about 2 inches uncovered near the heel so you can make a nice seam.
Step Seven: Cut one side of the fabric so it covers the heel and goes about half an inch past the heel seam. Apply Mod Podge and press the fabric down.
Step Eight: Cut the other side of the fabric one inch past the middle heel seam of the shoe. Fold half an inch of fabric under at the edge to hide the raw edge, then apply Mod Podge and smooth the fabric down onto the shoe. Make sure to keep the raw edge folded under to make a nice seam at the back. (I forgot to take a picture of this part..see
here and
here ).
Step Nine: Trim away the excess fabric using your
scissors. You don’t need to be extremely precise here either. For the
bottom of the fabric just run the scissors along the sole of your shoe
as a guide (you will cut this fabric more exactly later on). For the top
of the fabric just follow the curve of the opening of the shoe, leaving
about half an inch. Then
cut slits in the fabric in the curve of the toe so that you can fold the fabric over without stretching it.
Step Ten: Apply Mod Podge to the under side of the toe of the shoe;
fold the fabric over and press firmly.
Step Eleven: Continue applying Mod Podge and folding the fabric over
around the opening of the shoe. Since it's the inside of the shoe, you can cut imperfectly if you want.

I also didn't worry about the weathered insole of the shoe since no one will see it when I am wearing them, but I may go buy some new inserts for new support.
Step Twelve: Using your exacto knife,
trim off the excess fabric at the sole of the shoe.
Make sure your knife is SHARP for this part! Don’t worry if there is a
little bit of fraying at the edge; that will get fixed when you Mod
Podge it down. Once your fabric is trimmed down,
apply Mod Podge and press the edges down.
Smooth it out to keep it from bunching up and tuck any frayed edges in.
Step Thirteen: Cover the entire shoe in a thick layer of Mod Podge. Allow it to dry overnight
(I
let it go about 12 hours) and you’re done!
Voila! New shoes!


