Showing posts with label Crafting. Show all posts

Monday, December 31, 2012

Giving Shoes a Face Lift: Part Two

It's a Brand New Pair of Shoes! Well... sort of :-)

Mod Podge became my new friend this past week. I had another favorite pair of comfy, worn in flats that needed to be dumped in the trash (NOOOOO!) or revamped into some fancy footwear. After Mod Podge-ing fabric onto another pair of shoes, I thought it would be cute to glitter some. I have seen so many fancy glitter flats & heels at the stores, and BINGO! - new craft idea for me. 

Step One: Pick your shoes and favorite glitter! 
 
 Step Two:  Mod Podge the toe of your shoe. Then sprinkle on glitter.  Glue & glitter, part by part.  (Note: after the fact, I decided it would have been better to polish or spray paint the shoe black first)
 
Step Three:  Continue applying Mod Podge and glitter away..  (pardon the blurry pics, my camera was having a hiccup!)
Step Four: Finished applying & glittering.   Then repeat with a 2nd coat of Mod Podge & glitter. Allow to dry for about an hour. 
Step Five: Brush with Satin Varnish or spray with Satin Finish  to seal the glitter.  Nothing worse than sparkles all over! Actually, I can think of many worse things. But it sure creates a mess. Winking smile *update: My shoes began to crackle once the Varnish dried, so I am trying the shoes again with a spray glaze over instead. Mod Podge will work also, but I was worried my matte finish would de-sparkle the glitter
Now I have some twinkle toes of my own!
Perfect for New Year's Eve, whether you are out & about or cozy on your couch.
 
Time to shine on in 2013!

Giving Old Shoes a Face Lift!

      Well, what a whirlwind I've had these past few months. One of my New Year's resolutions is to make sure I am up to date with my posts! Yikes!!   I am on Christmas vacation right now, so I have had some time to finally dig into my craft pile.

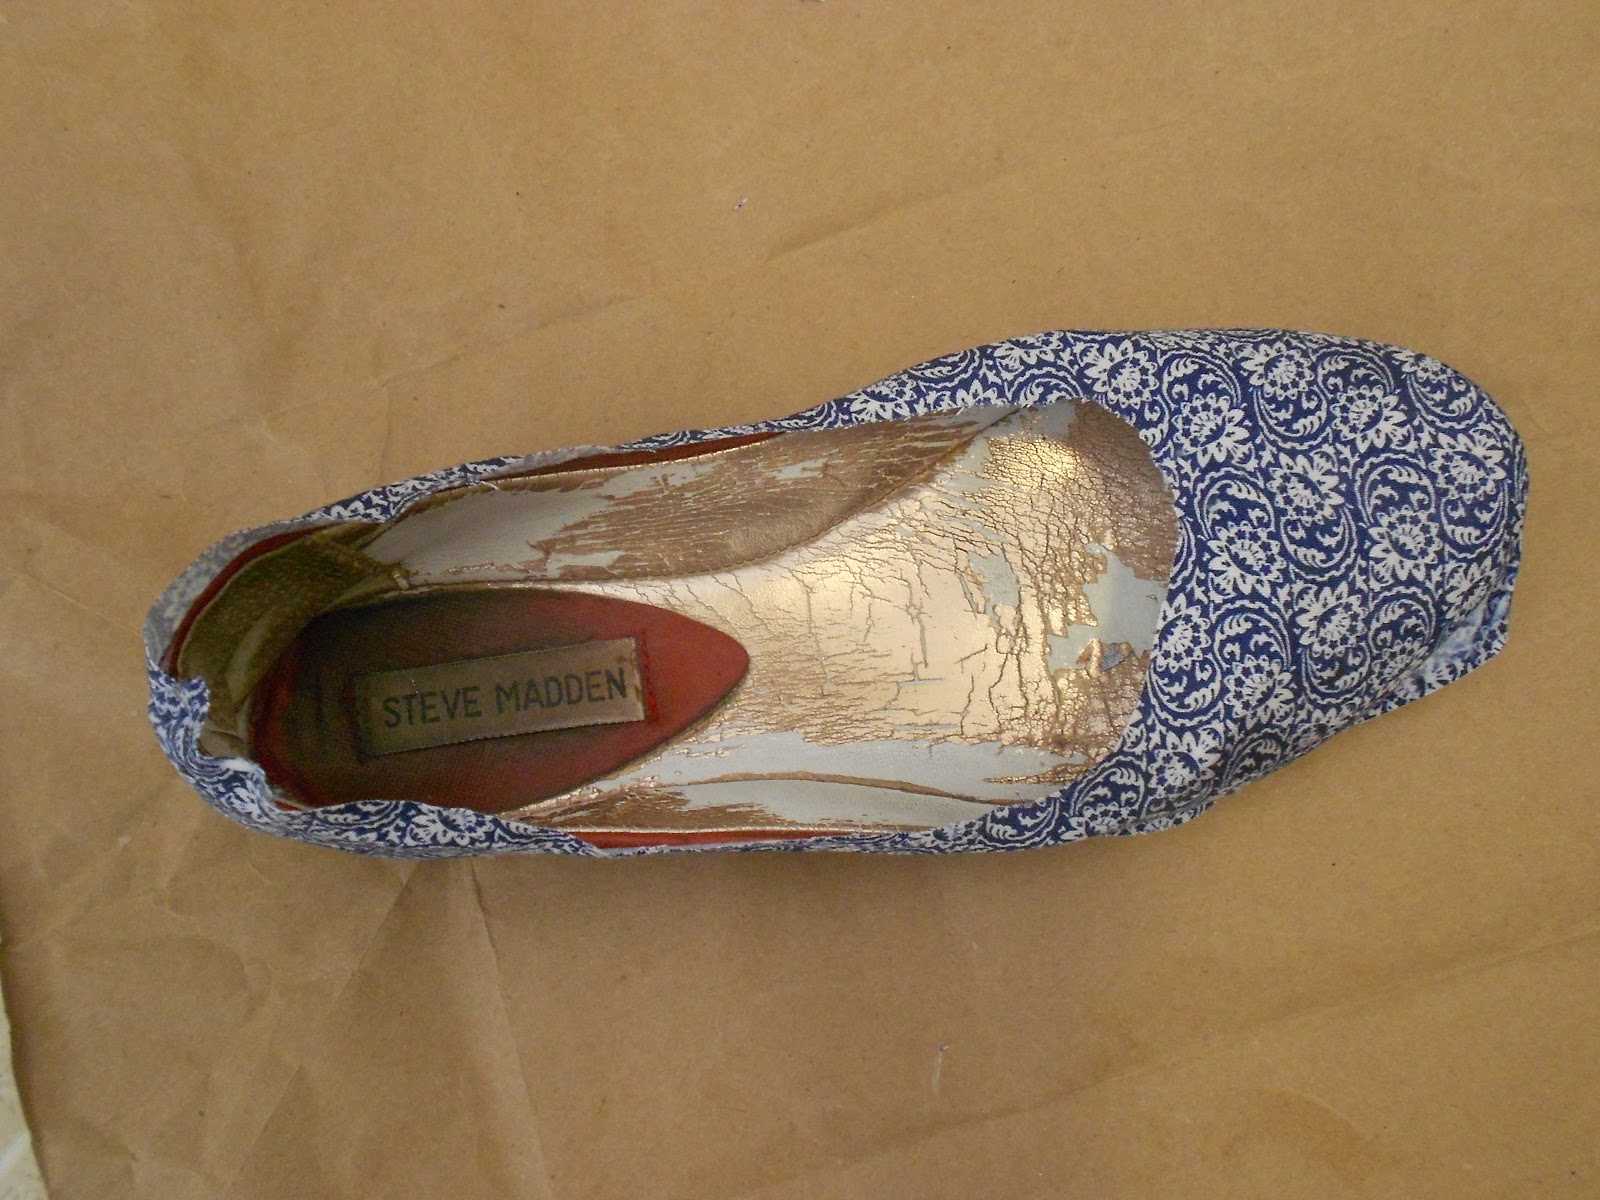
     A few months ago, I saw an idea to Mod Podge fabric onto a pair of flats.  I have two pairs that are so comfy, but are looking pretty sad & weathered. This was my chance to revamp them and get a new pair of shoes for free!


I found a tutorial and figured I'd give it a shot. A lazy, rainy day was the perfect time.

Step One: Find a pair of your favorite, but weathered flats and a fabric you love. (Any inexpensive pair of new flats will work too!)

Step Two: Cut out a piece of fabric big enough to cover the shoe. You can be fairly imprecise here; just lay the fabric over the shoe and cut out a general rectangle.

Step Three: Cut a slit in the fabric over the opening of the shoe. You want to leave the fabric whole over the toe, but split it in half to cover the sides. Start at the heel and cut right up the middle until you are half an inch away from the beginning of the toe of the shoe.
Step Four: Cover the toe of the shoe in a thick layer of Mod Podge.
Step Five: Cover the toe of the shoe with your fabric and press it down firmly. You want the fabric to be stretched out and laying flat everywhere so that it doesn’t bunch up and pucker near the sole. Since I was using patterned fabric, I didn't have to worry about keeping lines straight.
Step Six: Cover the sides of the shoe with Mod Podge and press the fabric onto the shoe. Keep making sure the fabric lays flat. Leave about 2 inches uncovered near the heel so you can make a nice seam.
Step Seven: Cut one side of the fabric so it covers the heel and goes about half an inch past the heel seam. Apply Mod Podge and press the fabric down.

Step Eight: Cut the other side of the fabric one inch past the middle heel seam of the shoe. Fold half an inch of fabric under at the edge to hide the raw edge, then apply Mod Podge and smooth the fabric down onto the shoe. Make sure to keep the raw edge folded under to make a nice seam at the back.     (I forgot to take a picture of this part..see here and here ).


Step Nine: Trim away the excess fabric using your scissors. You don’t need to be extremely precise here either. For the bottom of the fabric just run the scissors along the sole of your shoe as a guide (you will cut this fabric more exactly later on). For the top of the fabric just follow the curve of the opening of the shoe, leaving about half an inch. Then cut slits in the fabric in the curve of the toe so that you can fold the fabric over without stretching it.
Step Ten: Apply Mod Podge to the under side of the toe of the shoe; fold the fabric over and press firmly.
Step Eleven: Continue applying Mod Podge and folding the fabric over around the opening of the shoe. Since it's the inside of the shoe, you can cut imperfectly if you want. :-) I also didn't worry about the weathered insole of the shoe since no one will see it when I am wearing them, but I may go buy some new inserts for new support. 

Step Twelve: Using your exacto knife, trim off the excess fabric at the sole of the shoe. Make sure your knife is SHARP for this part! Don’t worry if there is a little bit of fraying at the edge; that will get fixed when you Mod Podge it down. Once your fabric is trimmed down, apply Mod Podge and press the edges down. Smooth it out to keep it from bunching up and tuck any frayed edges in.

Step Thirteen: Cover the entire shoe in a thick layer of Mod Podge. Allow it to dry overnight (I let it go about 12 hours) and you’re done!
Voila! New shoes! 

Directions from Jessi at Practically Functional.

Sunday, June 3, 2012

One Stitch, Two Stitch, Red Stitch, Blue Stitch

        A few weeks ago, my friend Amanda and I had a sewing date set with my mom. We had some ideas for appliques on onesies - ties, vests, fabric doo-dads! My mom had just finished making a blanket in a wonderful Dr. Seuss fabric. Amanda & I decided to cut out some of our favorite characters and enhance white-tee onesies.  In the past few weeks, I've made about 6 more and they are super easy! 

        I am still a beginner sewer, so I don't even feel qualified to give instructions on what to do. Buy any onesies you like, find a print or pattern fabric, iron on the designs and stitch around the edges.  I just wanted to share the cute ideas!


             Something on the little bum is always cute


                   A star bellied baby!                           The Sneetches is one of my favorite Dr. Seuss stories                                      
Showing off our hard work
I also made a few tag blankets (post to come) and Amanda stitched her first burp cloth. 
It was a fun day of learning! 

Friday, March 16, 2012

Vintage Marketplace

A few weekends ago, my mom and I went to The Vintage Marketplace.  Basically, it was like a dreamland for those who like vintage and shabby chic. They put this marketplace on a few times a year, in a little town called Rainbow (near Fallbrook, about 45 minutes north). Different vendors set up with furniture, old pieces of sheet music, old books, burlap and crystals everywhere.                        Oh and pearls, lace and more lace!

We browsed around, picking up odds and ends but I made off pretty well. Especially with a new piece of furniture! I bought a hutch for my kitchen, a couple vintage lace doilies, vintage dollhouse wallpaper and some little birds nests. 
Here is the hutch!  
 
The hutch set up for now...   
 
 
 Either for some candles, centerpieces or whatever else comes to me. 
  Here are a few other things I loved, but decided that I will recreate for much less expensive.
                                           LOOOOOVE the idea of the sheet music....


It turned out to be a very nice morning with my mom. The next Vintage Marketplace show is in June... Definitely will be checking it out! And most likely, I will spend my spring break in a few weeks making some of these items! Stay tuned...

Wednesday, January 11, 2012

Sew fun!

     One of my to-do items before I turn 30 is to take a sewing lesson.  Back when I was 9 maybe, I took a sewing class with a friend and we made a few things but after so many years, I honestly couldn't remember how to use a sewing machine.  My mother is a fabulous craftswoman and whips up amazing hand-sewn items here and there. So naturally, she would be my sewing instructor.

I wasn't sure what to do, except that I wanted to know how to work the darn machine again and a few simple hems.  But aside from playing around on the machine, my mom wanted me to have a finished product at the end. I had seen a cute idea on Pinterest to add doilies to pillows, while driving to my mom's tonight that idea popped into my head and TA-DA! I was going to make an accent pillow for my bed.

My mom was patient with me and showed me a few tricks of the trade. Okay, not that I became a sewing whiz...but I felt like I knew what I was doing.
  
Practicing some straight stiches

   
Some more practicing and then sewing on the doily to my fabric for the front of the pillow
The finished product!  I love it and want to make more, more, more!
Testing the pillow out on my bed, but it might make it to my couch... either way its cute!
I was quite proud, thanks for the inspiration Pinterest!